Perler Bead Patterns and Ideas
30 original fuse bead patterns, each with an exact bead count for every Perler color and a PDF that prints at true size.
30 patterns
-
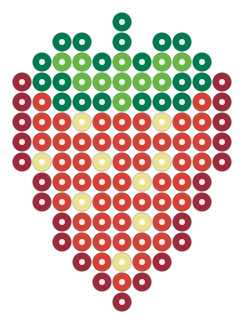 Strawberry
-
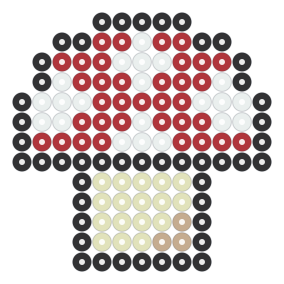 Red Mushroom
-
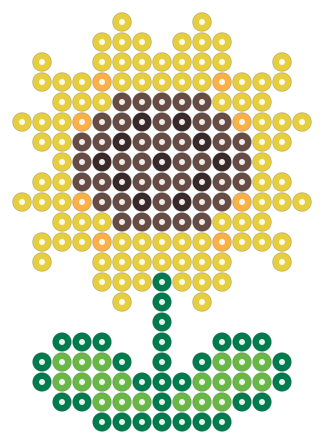 Sunflower
-
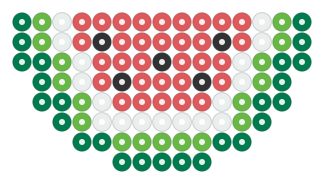 Watermelon Slice
-
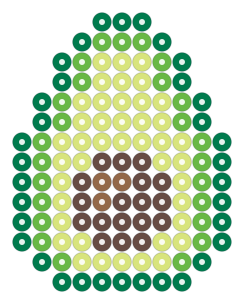 Avocado
-
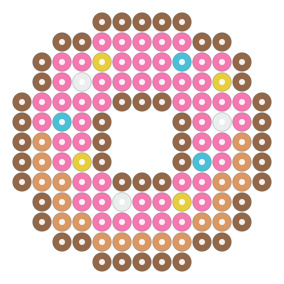 Donut
-
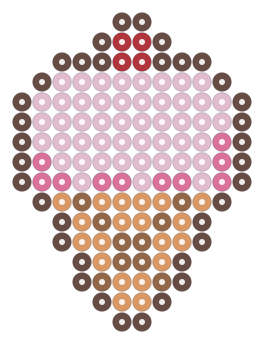 Ice Cream Cone
-
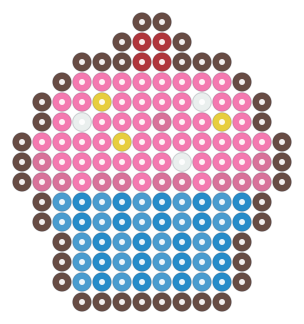 Cupcake
-
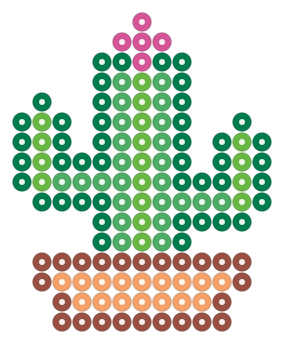 Cactus in a Pot
-
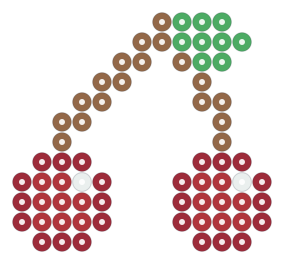 Cherries
-
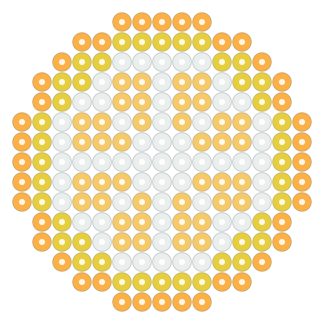 Lemon Slice
-
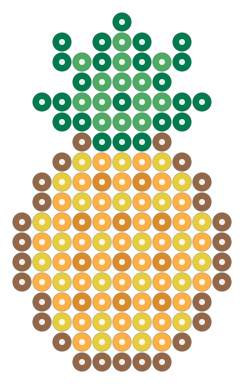 Pineapple
-
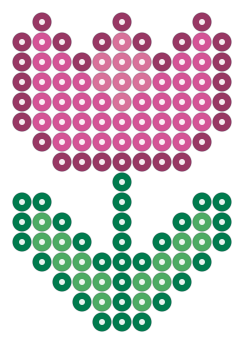 Tulip
-
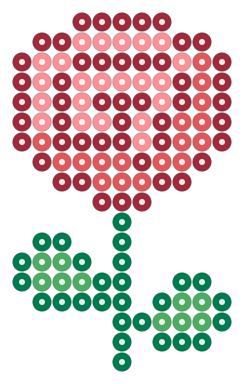 Rose
-
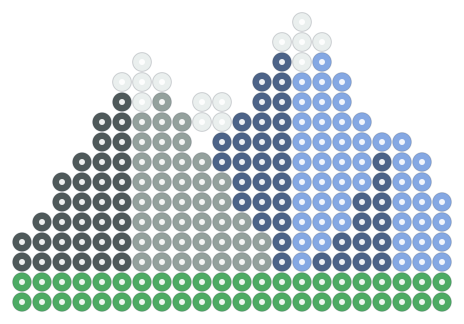 Mountain Landscape
-
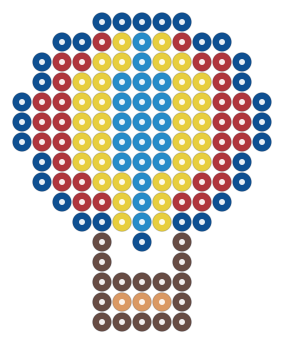 Hot Air Balloon
-
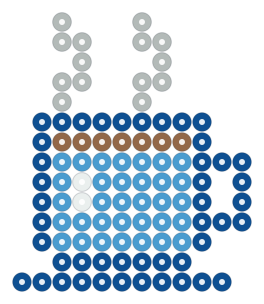 Tea Mug with Steam
-
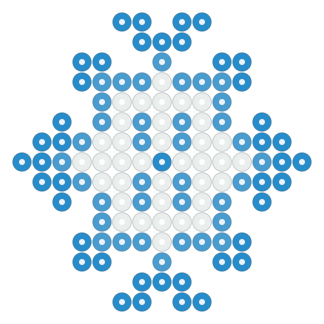 Snowflake
-
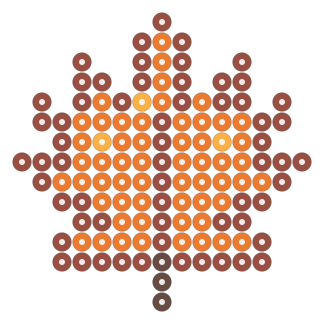 Autumn Maple Leaf
-
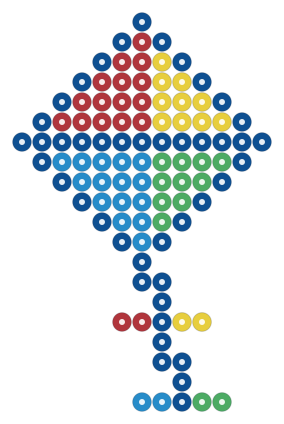 Kite
-
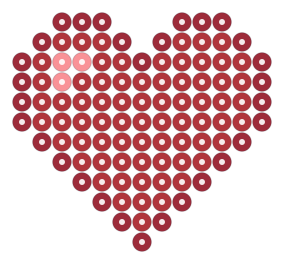 Heart
-
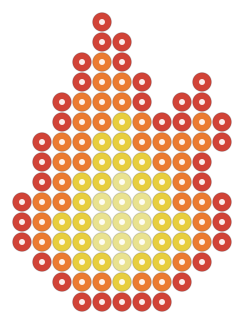 Flame
-
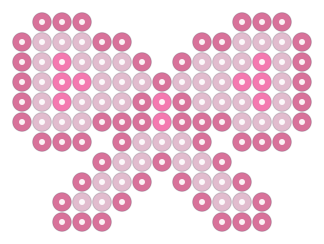 Ribbon Bow
-
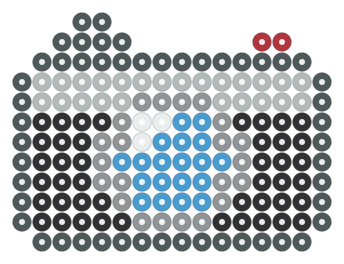 Retro Camera
-
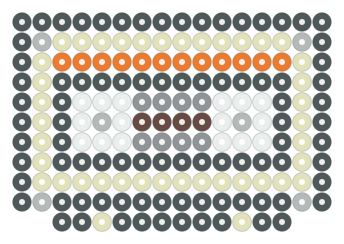 Cassette Tape
-
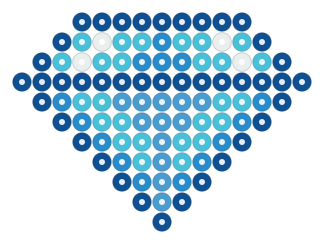 Crystal Gem
-
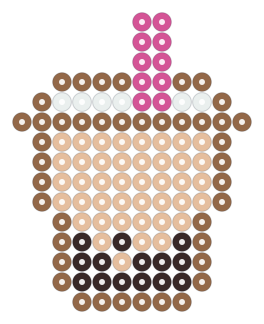 Bubble Tea
-
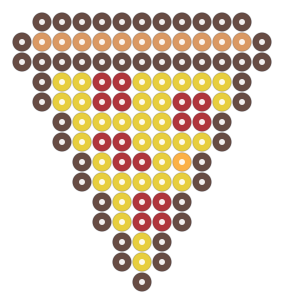 Pizza Slice
-
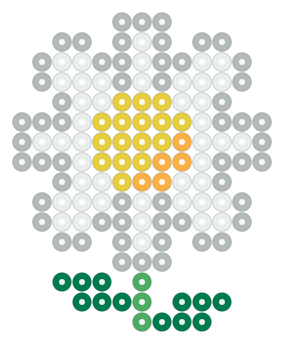 Daisy
-
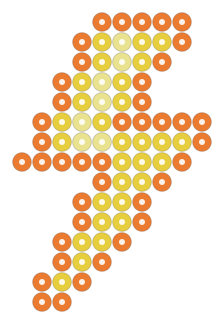 Lightning Bolt
No patterns match these filters. Clear filters
How to use these patterns
Pick a design from the cards above. The filters narrow the list by difficulty, size, number of colors and theme, and they work without any sign-up. 21 of the 30 patterns are marked beginner, and the designs use between 3 and 8 colors.
Each pattern page starts with the grid itself. Zoom in with the buttons or with two fingers, and tap any bead to see its row, its column and the name of its color. Under the grid you get the size, the total number of beads, the number of pegboards and the difficulty, followed by the bead list. Sort your beads by that list before you start: it saves a lot of searching once you are placing rows.
Reading a pattern
Every bead on the grid carries a small number. That number points to a line in the bead list, where you see the Perler color name, its item number and how many beads of it you need. Color 1 is always the color the design uses most, so the numbers also tell you roughly how much of each color to sort. Rows and columns are numbered along the edges, and darker lines mark every fifth and tenth peg, which makes it easy to count across a wide row.
A good order of work is the outline first, then the large color areas, then the single-bead details such as seeds, sprinkles or highlights. Each pattern page also lists a few tips for that design, such as the row where a mistake is easy to make.
Ironing basics
Lay ironing paper or parchment paper over the finished board and set a household iron to medium with no steam. Move the iron in slow circles for 10 to 20 seconds, then lift a corner of the paper and check: the beads should look slightly rounded at the top with small open holes, not flat. Thin parts such as stems and tails fuse fastest, so keep the iron moving over them.
Should you iron both sides? For wall pieces and decorations, ironing only one side keeps the bead texture on the front. For keychains, coasters and magnets, turn the piece over once it has cooled for a minute and iron the other side too: it becomes flatter and much stronger. Either way, let it cool under a heavy book so it does not curl. These are general fuse bead tips; follow the instructions that come with your own beads and iron.
Printing the PDF at true size
The PDF on each pattern page is drawn at the real spacing of a pegboard, 5.0 mm from peg to peg, so a 29 × 29 board prints 145 mm wide. Choose Letter or A4 to match your paper and print at Actual size or 100% scale. The first page has a 5 cm ruler and a strip of 10 beads: measure the strip before you print the board pages. You can then slide each board page under a clear pegboard and place the beads directly on top of the picture.
If the strip does not match your board, the Advanced setting next to the paper size changes the peg spacing between 4.8 and 5.2 mm. Print views and a plain PNG image are there too, for a quick reference on screen.
Using only the colors you have
Most collections of beads are missing a color or two. Open "Use only colors I have" on any pattern page and tick the colors you own. The pattern switches each missing color to the closest one you have, measured the way the eye sees color differences, and the bead list and counts update at once. A list of color swaps shows exactly what changed, and you can pick a different swap for any color. Your choice is remembered in the page address and in this browser, so the next pattern opens with your colors already ticked.
For a quick look at what a pattern costs, type the price you pay for 1,000 beads into the cost box; the page works out the beads you need and the bags to buy. No price is filled in for you.
Frequently asked questions
Where can I find free Perler bead patterns?
Right here: all 30 patterns on this page are free to use for your own crafts, with no sign-up. Each one has a bead list, a true-size PDF, a print view and a PNG image. Other craft sites and Pinterest boards have many more designs, but check whether a pattern lists its bead counts before you start sorting.
Is there an app for Perler bead patterns?
You do not need to install one. Every pattern page works in the browser on a phone, tablet or computer: zoom in on the grid, tap a bead to see its row, column and color, switch to the colors you own and download the PDF. Nothing is uploaded and there is no account.
Should I iron both sides?
It depends on the use. Ironing only the back keeps the round bead texture on the front, which looks good on wall pieces. Ironing both sides makes the piece flatter and much stronger, which is better for keychains, coasters and anything that gets handled. Let it cool under a heavy book either way so it stays flat.
What size pegboard do I need?
Every pattern here fits on one large square pegboard of 29 × 29 pegs. The largest design is 22 beads on its longest side, and most are 16 by 16 or smaller, so they also fit on many smaller boards. Each pattern page shows how many boards it needs.
How do I print a pattern at the right size?
Download the PDF on the pattern page, choose Letter or A4 to match your paper, and print at Actual size or 100% scale, never Fit to page. Measure the 10-bead strip on the first page with a ruler: if it matches, every board page lines up with your pegboard.
Are these patterns original?
Yes. Every design was drawn for this site on a bead grid. There are no characters, logos or copies of other artists’ work, and every bead count comes from the pattern data itself, not from a hand-made list.
Collections
Looking for a starting point? The easy patterns (21 designs) are beginner level with six colors or fewer, the small patterns (25 designs) are 16 beads or less on each side, and the cute ideas (14 designs) gather rounded shapes in soft, bright colors.