Easy Perler Bead Patterns
21 beginner fuse bead designs with 6 colors or fewer, each with a bead count for every color.
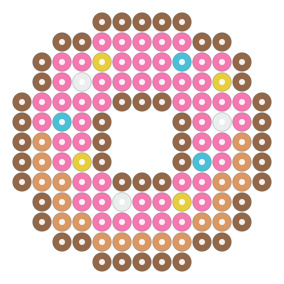
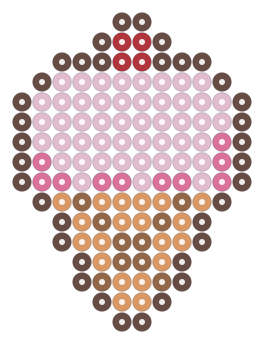
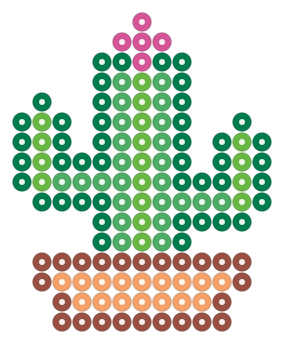
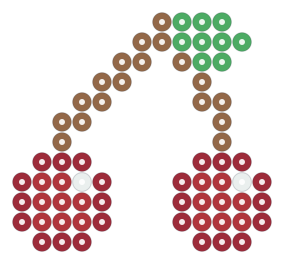
What makes these patterns easy
Every pattern here meets two rules that are checked automatically: it is marked beginner, and it uses 6 colors or fewer. Beginner designs are built from large areas of one color inside a clear outline, with only a handful of single-bead details. That makes them quick to read and hard to get lost in, even on a wide row.
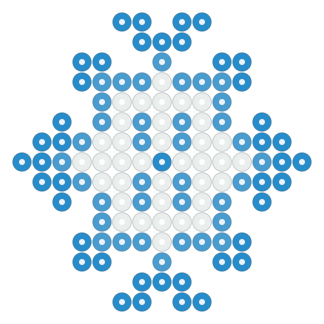
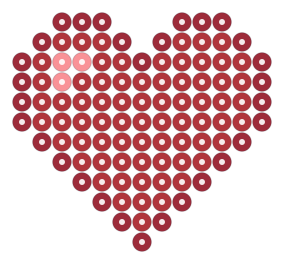
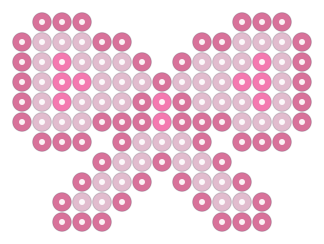
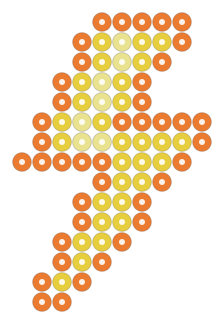
Fewer colors also means less sorting and a shorter shopping list. The simplest ones need only three colors: the snowflake, the heart, the ribbon bow and the lightning bolt.
A good order for a first project
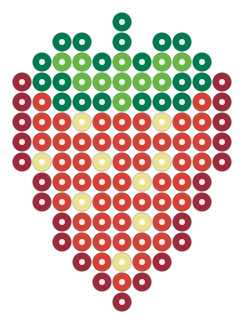
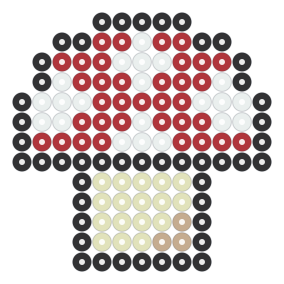
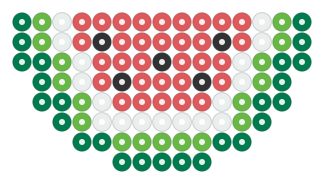
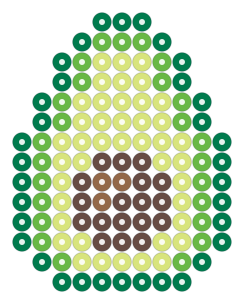
Sort your beads by the bead list on the pattern page before you start. Place the outline first, then fill the largest color area, then the smaller areas, and leave the single-bead details such as seeds or highlights for last. Compare each row with the grid on the screen as you go; tap a bead on the pattern to see its row, column and color if you lose your place. When the board is full, lay ironing paper on top and fuse it with slow circles of the iron.
After your first piece
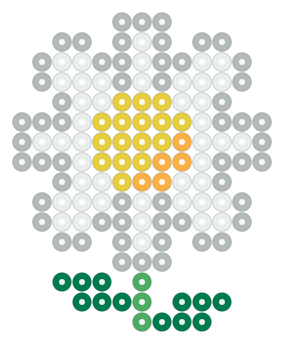
Once a few easy designs are done, try one with a single tricky detail, such as a thin stem or a two-color stripe. The small patterns include some intermediate designs that pack in more detail, and the cute ideas are soft, rounded pieces for gifts and charms. The full library has every pattern, with filters for difficulty, size, colors and theme.
Frequently asked questions
What makes a Perler bead pattern easy?
Here, easy means two things checked for every pattern: the design is marked beginner, and it uses 6 colors or fewer. Beginner designs have large areas of one color, a clear outline and only a few single-bead details.
Which pattern should I make first?
Pick one with three colors or fewer and a solid outline, such as the snowflake. Fewer colors mean less sorting, and an outline gives you a frame to fill in row by row.
Do I need tweezers?
Not for the easy patterns, though they help with single beads such as seeds or sprinkles. Placing beads with your fingers works fine for large color areas.
How hot should the iron be?
Medium heat with no steam, moved in slow circles over ironing paper or parchment paper for 10 to 20 seconds, is a common starting point. Check a corner: the beads should look slightly rounded with small open holes. Follow the instructions for your own beads and iron.