How to Make Perler Bead Patterns
A Perler bead pattern is a grid where every square is one bead in one color. Get the grid right and the rest is placing beads and ironing them.
The quickest way to make one is the free Perler bead pattern maker: add a photo, choose a size and the number of colors, and it gives you the grid, the bead list and a PDF that prints at true size. This guide explains each step, so you can make good choices in the maker or draw a pattern by hand.
1. Design on a grid or start from a photo
There are two ways to begin. Drawing on a grid gives you full control and suits simple shapes such as a heart, a lightning bolt or a slice of fruit. Starting from a photo is faster for anything with curves or shading, like a flower, a cupcake or a favorite mug.
To draw by hand, use squared paper or a blank pattern and fill one square per bead. Keep outlines one bead thick and avoid single beads floating on their own: they are hard to place and tend to fall out when you iron.
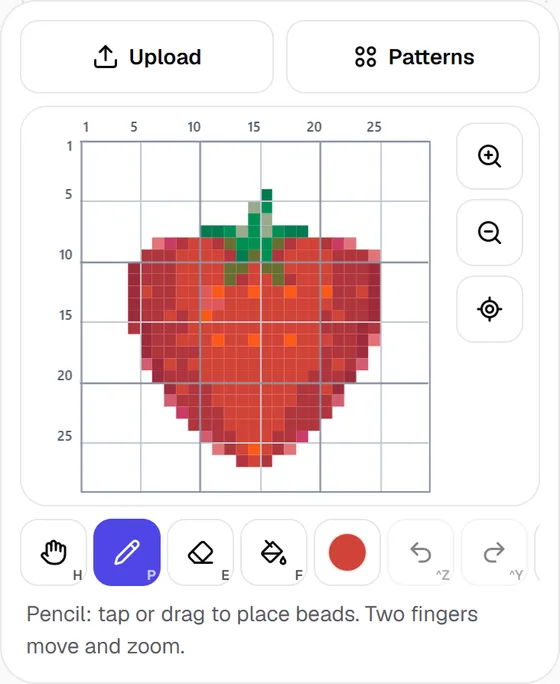
From a photo, pick a picture with one clear object on a plain background and crop it close. In the maker the width is set in beads and the height follows the picture. Start small, look at the result, and only add beads if an important detail is missing. You can then fix single beads with the pencil, fill an area in one tap and use mirror to keep both halves of a round shape the same.
2. Pick your colors (and use the ones you own)
Fewer colors make a pattern easier to read and quicker to place. A good rule is one main color, one darker shade for shadows, one lighter shade for shine, and a dark outline. Photos often need 8 to 12 colors; cartoon-style shapes look best with 4 to 6.
The maker works with 95 Perler colors, and few crafters own them all. In the maker, choose Only colors I have and tick the colors in your collection. The pattern is then built from those colors only, so you can start today instead of waiting for an order. If two colors in the picture end up as the same bead, try ticking one more shade.
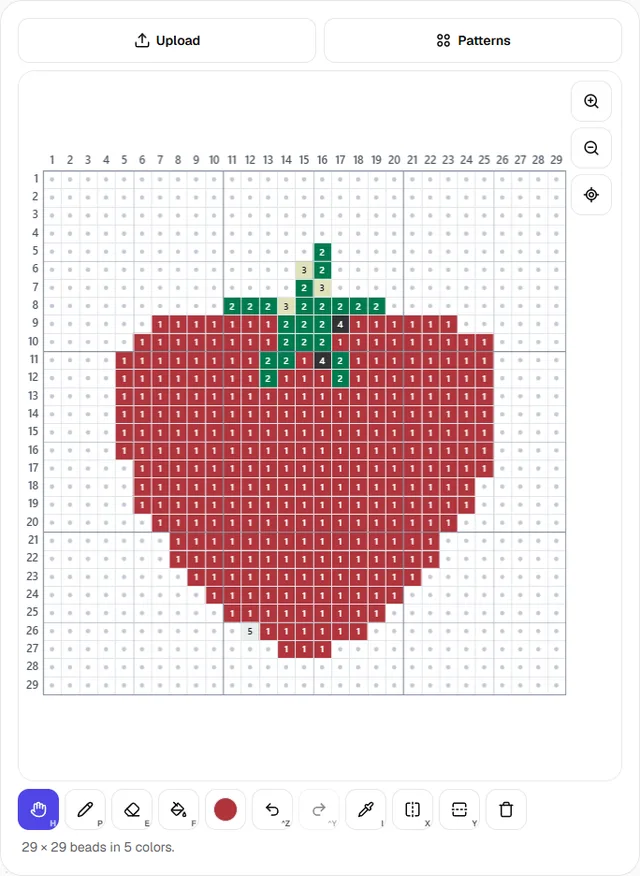
Remember that screens change colors. Treat swatches as close matches, and check a real bead next to the screen when two shades look alike.
3. Choose a board size and split big designs
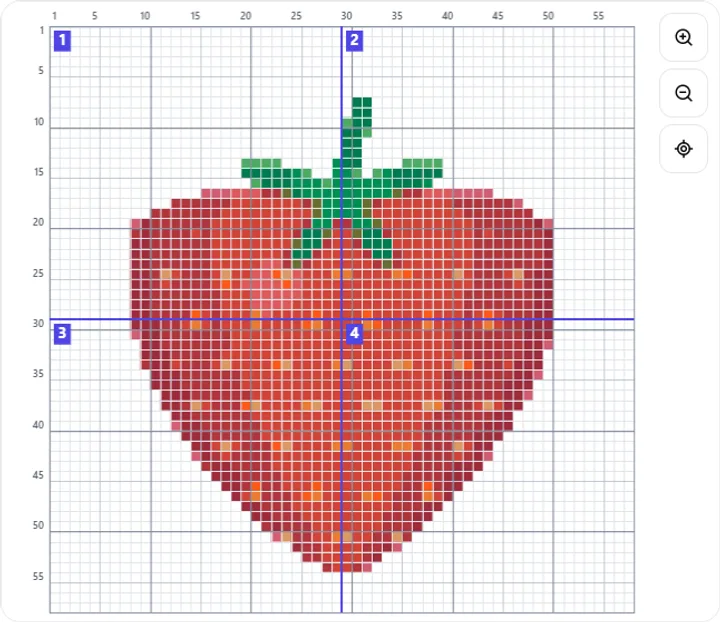
A large square Perler pegboard has 29 pegs on each side, room for 841 beads. Square boards clip together, so a design 58 beads wide uses two boards across, and so on. Plan the size first: a pattern that is 30 beads wide needs two boards for one extra column.
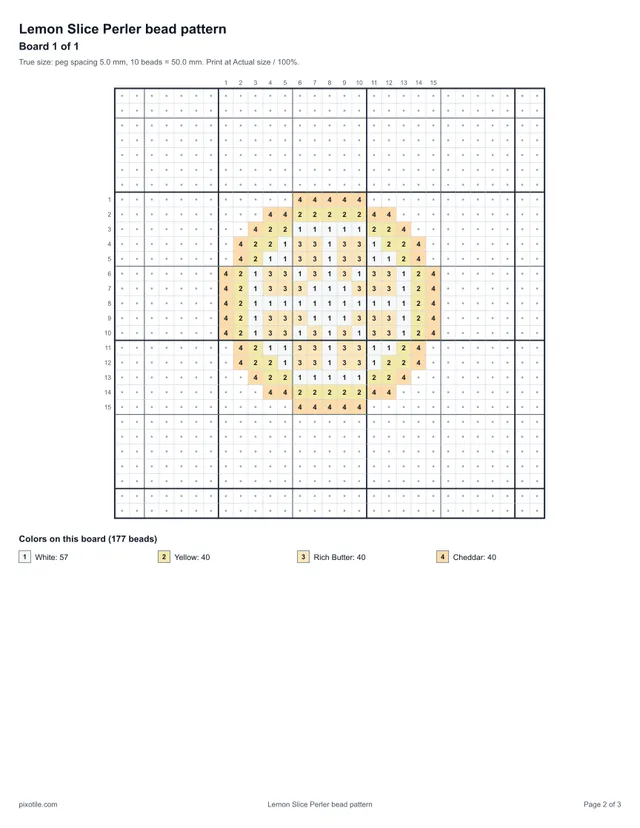
The maker draws a thick line where each board ends and puts a number in each board's corner, and the PDF prints one page per board with its position, for example "Board 2 of 4, top right". Build one board at a time and iron the boards together at the end, or iron each board and join the pieces with a few beads across the seam.
4. Count the beads and work out the cost
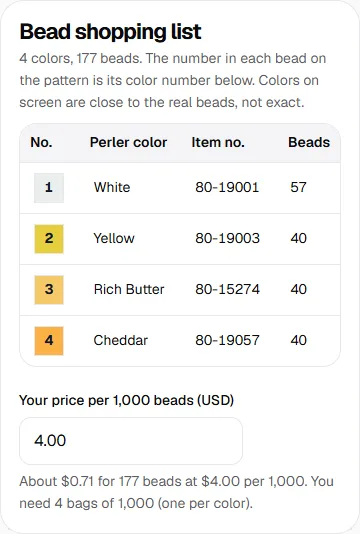
Before you start, count how many beads of each color you need. By hand that means counting every square, which is slow and easy to get wrong. The maker's bead shopping list does it for you, with the Perler color name, item number and count, and tells you how many bags of 1,000 to buy.
Type what you pay per 1,000 beads to get the cost of the whole design. We leave the price to you because it changes from store to store and with the bag size.
5. Print the pattern at true size
A pattern printed at true size lets you slide the paper under a clear pegboard and place each bead right on top of its square. Our PDFs are drawn in millimeters with 5.0 mm between pegs. In the print window choose Actual size or 100%, never Fit to page, which shrinks everything a little.
Check the scale before printing every page: on page one, the strip of 10 squares should measure 50 mm with a ruler. If your board does not line up, change the peg spacing under Advanced and print again.
6. Iron the beads: one side or both
- Heat a household iron to a medium setting with no steam.
- Lay ironing paper over the beads on the pegboard. Never let the iron touch the beads directly.
- Move the iron in slow circles with light pressure for about 10 to 20 seconds, until the bead holes start to close. Lift the paper to check, and keep going a few seconds more if beads still move.
- Let the piece cool, then lift it off the board.
- For a stronger piece, turn it over, cover it with paper and iron the other side the same way.
One side keeps the round look of the beads; both sides give a flat, sturdy piece. To stop the piece curling as it cools, put a heavy book on it, with paper in between, for a few minutes.
Common mistakes to avoid
- Too many colors. The pattern looks muddy and costs more. Start with 6 to 8 and add only what you miss.
- Too small for the details. Fine lines vanish below about 20 beads wide. Simplify the picture or go one board bigger.
- Printing with Fit to page. The squares no longer match the pegs. Print at Actual size and check the 10-bead strip.
- Loose single beads. A bead touching nothing can drop out. Join it to its neighbors or remove it.
- Ironing too hot or too long. The holes close completely and the colors darken. Check often, especially at the edges.
Want to practice first? Pick a ready-made design from our 30 free Perler bead patterns, each with exact counts and a true-size PDF, or open one in the maker and change it to make it your own.
Quick answers
What size should my first Perler pattern be?
Stay within one large square pegboard: 29 by 29 pegs, up to 841 beads. A design 15 to 20 beads wide takes most crafters under an hour to place and gives enough room for a clear shape.
How many colors should a bead pattern have?
Four to eight colors are plenty for most designs: one or two for the main shape, one for shading, one for highlights and an outline color. Every extra color is one more bag to buy and one more pile to sort.
Can I make a Perler pattern on my phone?
Yes. The pattern maker runs in the phone browser with nothing to install. Take a photo or choose one, set the width, then download the PDF or keep the bead list open on your phone while you work.
Do I have to iron both sides?
No. Ironing one side keeps the round bead look on the other side, which many crafters like for wall pieces. Ironing both sides makes the piece flatter and much stronger, which is better for coasters, magnets and anything that gets handled.
Why does my finished piece come out smaller than the pattern on screen?
Screens show beads at any size. On the board each bead takes about 5.0 mm, so a pattern 29 beads wide ends up about 14.5 cm (5.7 in) across. Use the true-size PDF to see the real size before you start.
Related
- Perler bead pattern maker: photo to bead pattern, with editing, board split, bead list and PDF.
- Perler bead patterns and ideas: free original designs with bead counts.
- Easy Perler bead patterns: small designs with few colors for a first project.
Last updated: November 18, 2026